Create A New Content Type
Content Type settings allow admin users to create specific content types that are highly configurable and help streamline the content creation process. After you create a Content Type, you can assign an icon, publishing and promotional destinations, and custom fields. Content Type Settings include: Options, Access Defaults, Workflow, Custom Fields, and Prefill Settings. Admin users can edit these settings at anytime.
Create a Content Type
- Click the Settings icon and select Content Type and Workflows.
- Select Add Content Type.
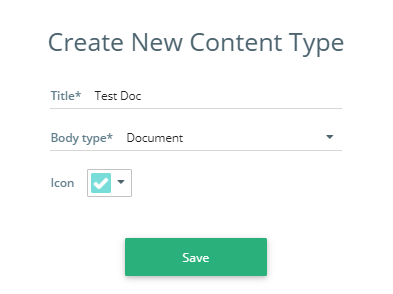
- In the Title field, enter a title for the Content Type.
- Click the Body Type drop-down and select a Body Type.
- Click the Icon type drop-down and assign an icon to the Content Type (optional).
- In the Guide field, enter instructions or a description in the HTML textbox to assist users in creating content of this type according to the intended guidelines. The guide will be displayed in all content items that belong to this content type.
Note: The guide can also be modified within the content details to accommodate specific requirements for individual content items.
-
Click Save. This opens the Edit Content Type page.
If you update the guide in the Edit Content Type page and click Save, a confirmation dialog is displayed with the following options:
-
Only update new content (recommended) - Updated guide is only applied to newly created content.
-
Update all content - Updated guide is applied to newly created content and all existing content. Any changes made to the individual content will be overwritten by this new guide.
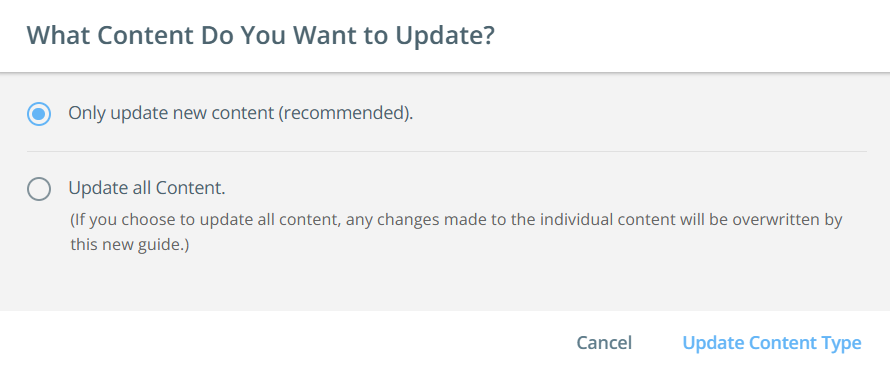
Click Update Content Type to apply the changes.
- In the Body Type and Publish Settings section, click in the Primary Destination field, and select your destination types.
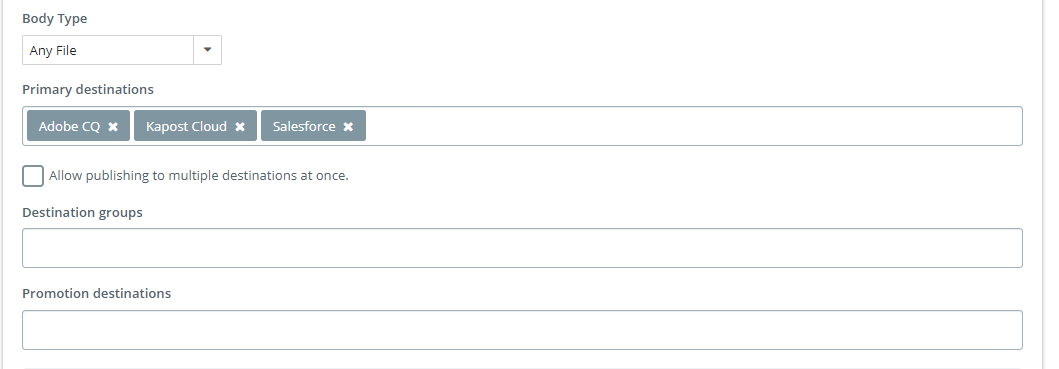
Assigning primary destinations allows the user to publish an asset of that content type to the assigned destination(s).
Once you connect to a primary destination in the Kapost App Center the next step is assigning that destination to a content type which will enable your access to publish to that destination.
- Navigate to Settings and select Content Types & Workflow.
-
Select the Pencil icon on the content type you'd like to edit.
- Click in the Promotional Destinations field and select the possible promotional destinations you would like users to have access to.
- Click Save.